I have tried making sourdough over the last few years with varying success. During lockdown I took the opportunity to experiment and finally perfect a recipe and produce a good loaf.
The first thing you will need to make is a starter. This is the very foundation of the sourdough. It’s easy to make; you just need to be patient. Once it’s made and alive it will essentially last forever if looked after properly.
Making a sourdough starter takes about 5 days. Each day you 'feed' the starter with equal amounts of fresh flour and water. As the wild yeast grows stronger, the starter will become more frothy and sour-smelling.
Watch a video on how to make your own sourdough starter here.
Sourdough starter
You will need a 500ml jar with a lid, a tea towel and a rubber band.
Instructions
Day 1: Make the initial starter
110g/3½ oz all-purpose flour
120ml water
- Weigh the flour and water, and combine them in your glass jar.
- Stir until combined into a smooth batter. It will look like a thick dough. Scrape down the sides and loosely cover the container with a clean tea towel secured with a rubber band.
- Place the container somewhere with a fairly consistent room temperature of 25°C and leave it for 24 hours.
Day 2: Feed the starter
110g/3½ oz all – purpose flour
120ml water
- Add the flour and water and stir to combine.
- Cover with the tea towel and leave for 24 hours. It should smell fresh, mildly sweet, and yeasty.
Day 3: Feed the starter
110g/3½ oz all-purpose flour
120ml water
- Check your starter. By now, the surface of your starter should look dotted with bubbles and be visibly larger in volume. It should also start smelling a little sour and musty.
- Weigh the flour and water for today, and add them to the starter.
- Stir until combined into a smooth batter. It will look like a sticky, thick dough.
- Scrape down the sides and loosely cover the container with the tea towel. Let sit for 24 hours.
Day 4: Feed the starter
110g/3½ oz all-purpose flour
120ml water
- Check your starter. By now, the starter should be looking very bubbly with large and small bubbles. It will also have doubled in volume. If you stir the starter, it will feel looser than yesterday. It should also be smelling quite sour. If you taste a little, it should taste sour and a bit vinegary.
- Weigh the flour and water and add them to the starter.
- Stir until combined into a smooth batter. Let sit for 24 hours.
Day 5: Starter is ready to use
- Check your starter. It should have nearly doubled in size since yesterday and be sour and pungent.
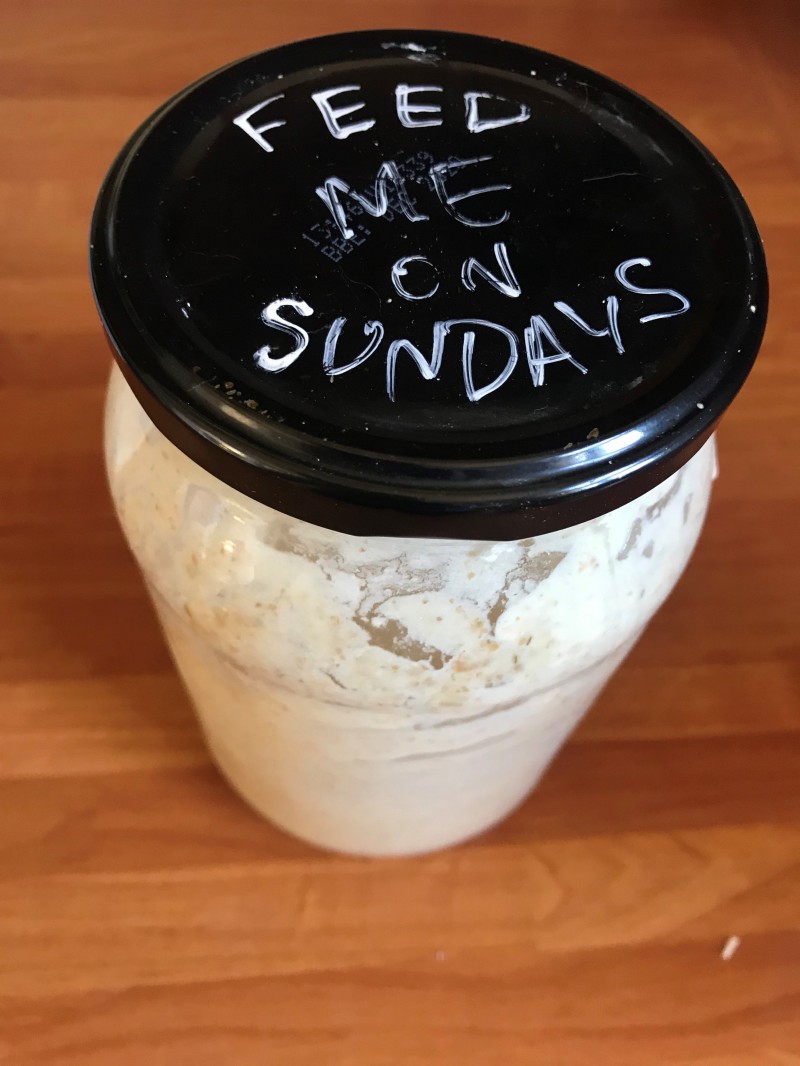
- You can now consider your starter ripe and ready to use. Keep it in the fridge until ready to use.
- It’s best to remove it from the fridge for a few hours before using, to allow the yeast to wake up. Always replace the amount you take away from the mixture. If you’re not using it regularly you’ll still need to take some mixture and discard it then replace with fresh flour and water. I do this on a weekly basis – every Sunday.
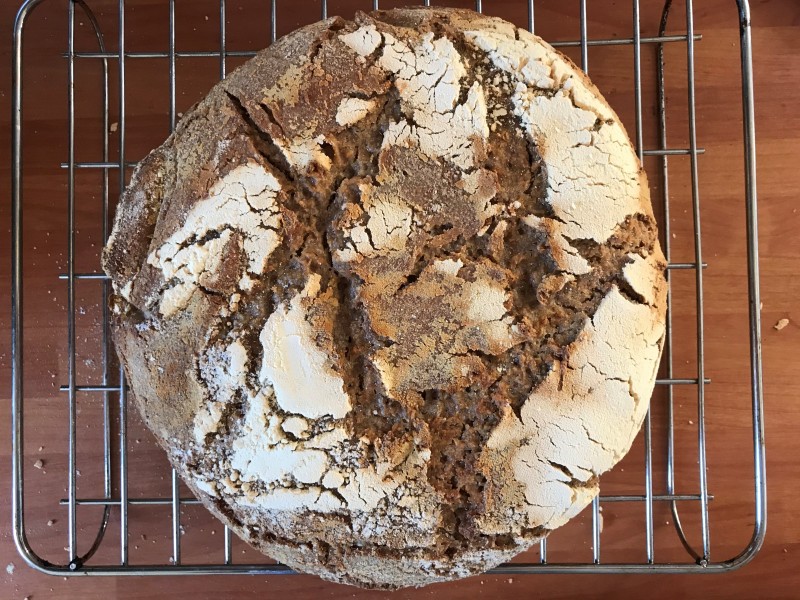
Sourdough loaf
Serves: 8
Time to prepare: 14 hours
Time to cook: 45 mins
Dietary requirements: Dairy-free, Egg-free, Vegan
Ingredients
360–380ml water
75g/generous 2oz starter
235g/scant 8oz wholewheat flour
305g/10½oz strong white bread flour
10g sea salt
Rice or gram flour for dusting
Instructions
- In a mixing bowl, loosely combine the starter and water.
- In another large mixing bowl combine the flours with the salt.
- Add the water/starter mix and thoroughly mix together to create a ball.
- Cover with a tea towel or cling film and leave for an hour.
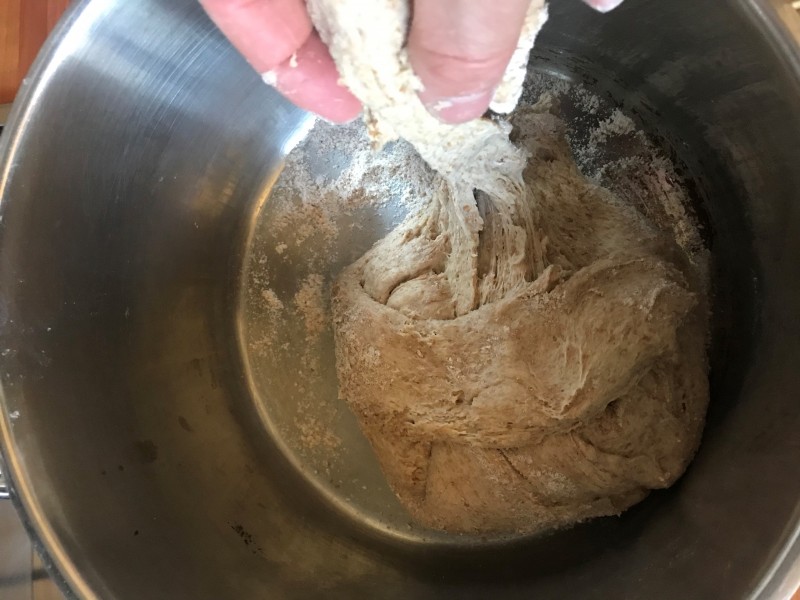
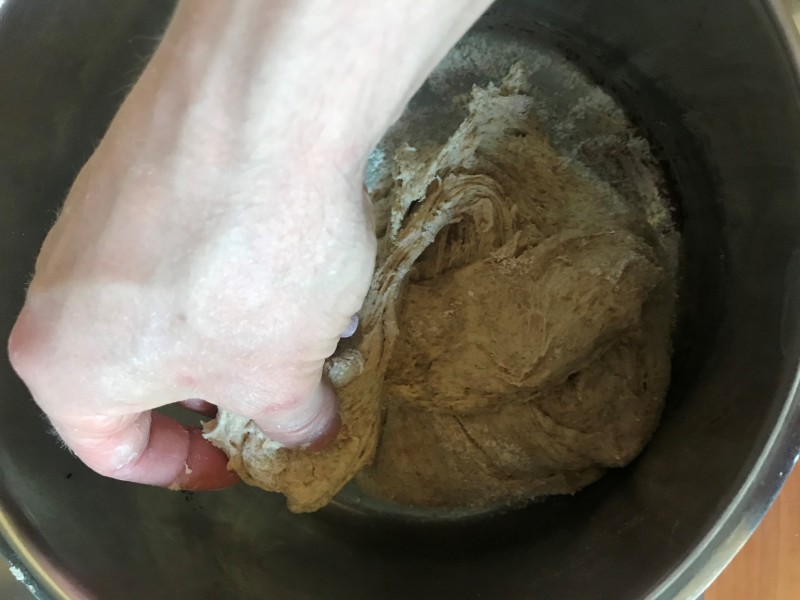
- With floured hands, stretch and fold the dough – pulling it from the base and over to the centre. Do this four times moving the bowl a bit each time (see image 2 and 3). Do this every quarter of an hour until you have done it four times (a total of 1 hour).
- Cover the bowl and leave for 10 hours or overnight.
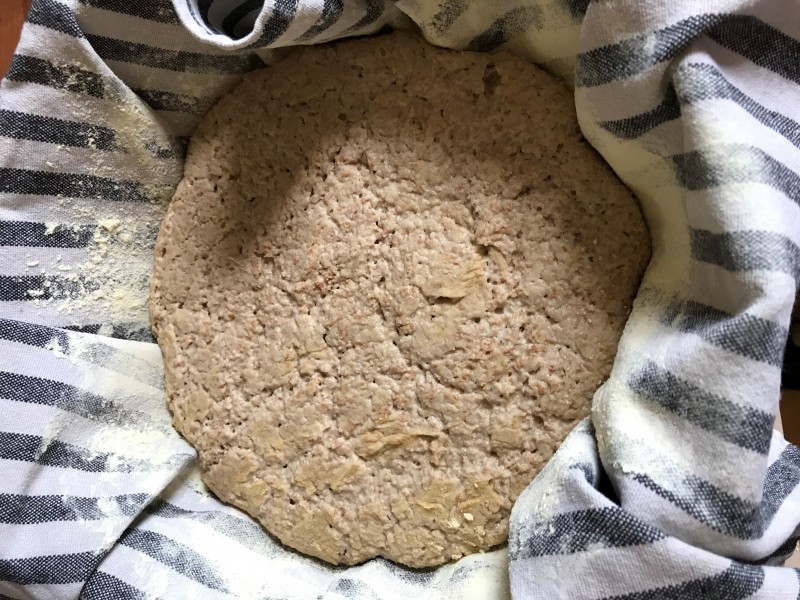
- When you return to the dough it should have doubled in size. Dust a bowl lined with a tea towel or a proving basket (if you have one) with the rice or gram flour. It needs to be liberally coated with flour to avoid sticking.
- Dust a clean work surface with rice or gram flour and tip out the dough. Be careful not to knock too much air out. Use the stretch and fold technique once more around the dough, then flip the dough over so you have a smooth floured surface at the top.
- Transfer to the floured tea towel bowl so the smooth side is facing down. Give another light dusting of rice or gram flour. Leave in a warm spot for around 2 hours until it has risen, but not doubled in size.
- While you are waiting for this final rise heat the oven to 240°C/220°C fan. Put a heavy iron deep pot in 30 minutes before your rise is complete.
- Remove the pot carefully from the oven after the 30 minutes. Delicately flip the dough out of the bowl into the pot so that the smooth side is now at the top.
- With a very sharp knife or blade slice four slashes into the top so that the bread can expand while baking. Put the lid on the pot and put in the oven. Turn the temperature down as soon as you do, to 220°C/200°C fan.
- Bake for 30 minutes, then remove the lid and bake for a further 15 minutes or until the crust is golden brown.
- Remove from the oven and cool on a wire rack. Don’t cut into the loaf before it has cooled a bit because this will release steam and be detrimental to the crumb quality. However, you can still enjoy while warm. I like it dipped in olive oil and salt. Enjoy!